How to Draw Bluebonnets
In this floral drawing tutorial, I’m going to walk through how to draw bluebonnets. These beautiful blue flowers are the state flower of Texas, and when I first moved here, I saw them everywhere. Businesses are named after bluebonnets, festivals are named after bluebonnets, and I have painted my fair share of bluebonnet commissions for fellow Texans! I’m so excited to teach you how to draw them in the tutorial below!
Grab your favorite sketchbook , and let’s dive in!
How to Draw a Bluebonnet
Here is a reference photo to give you a better idea of what we’ll be drawing.
Step 1: Draw Your Guidelines
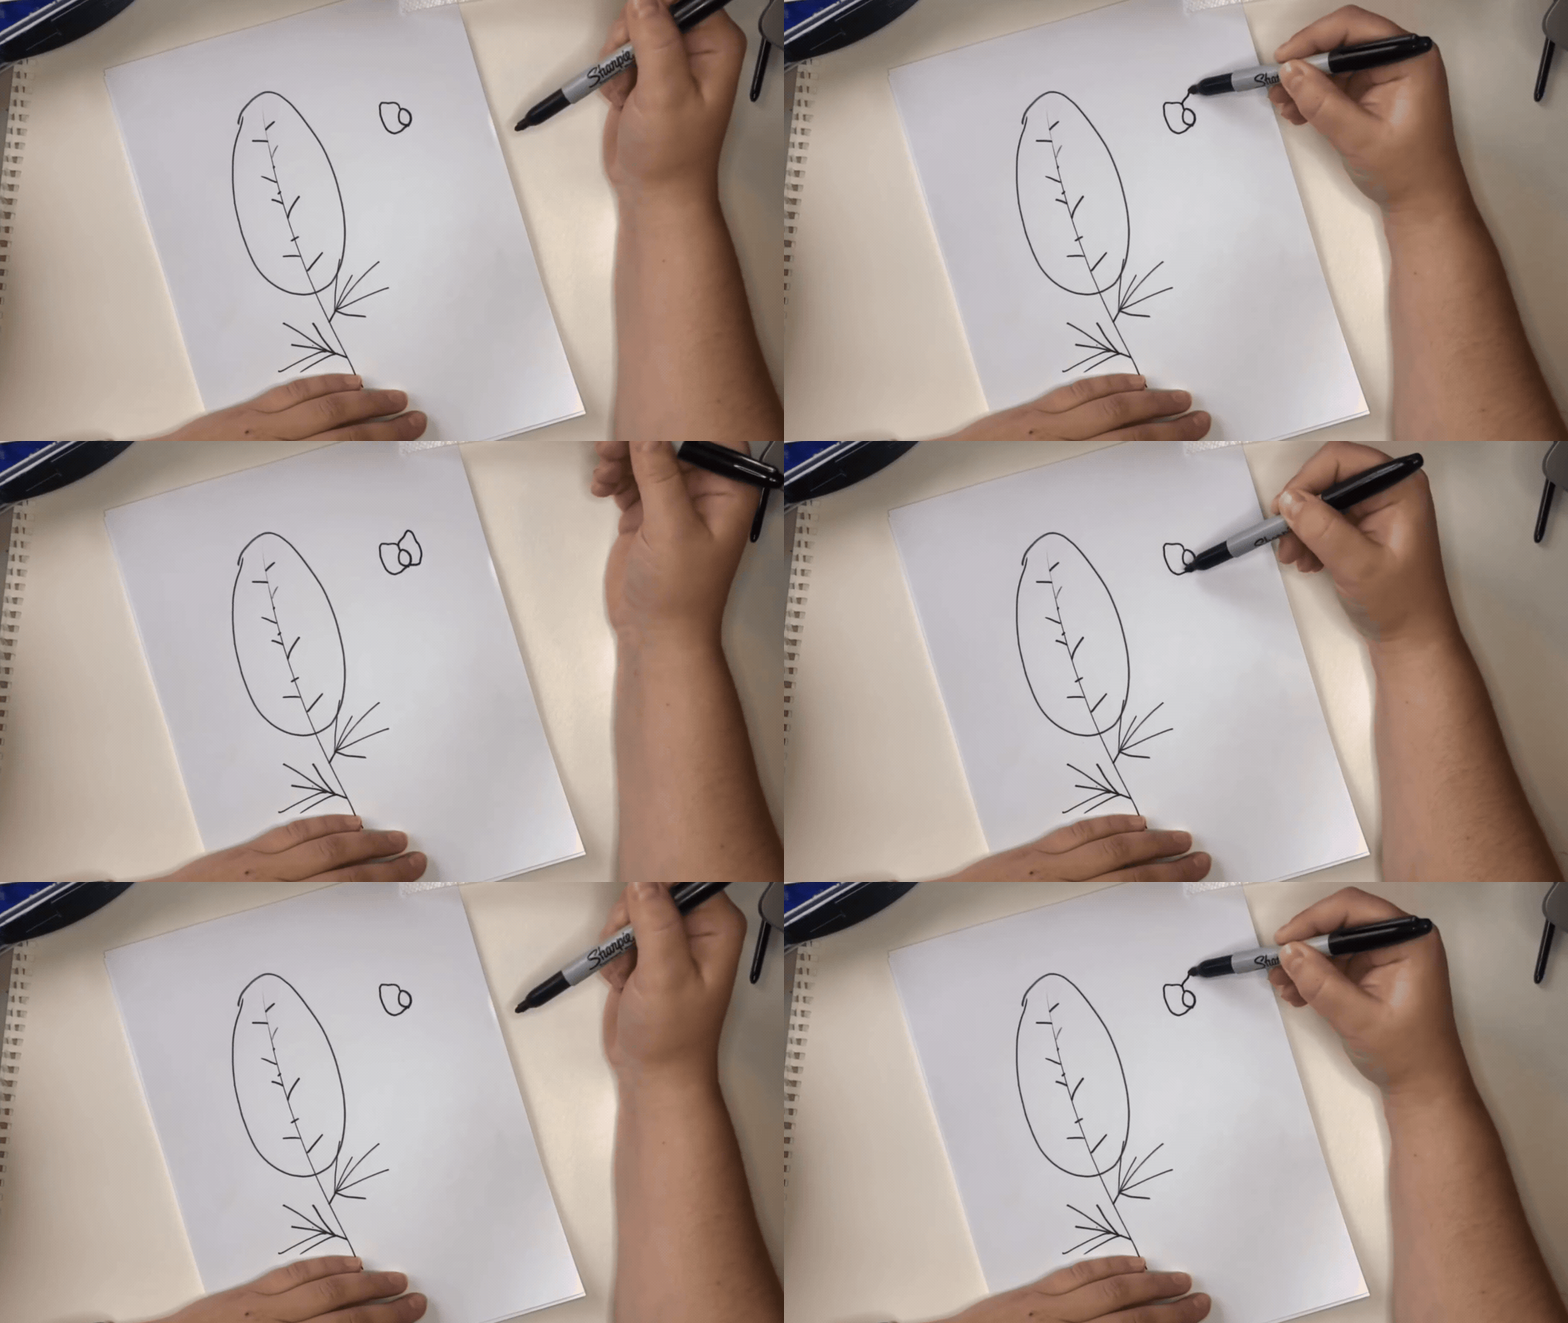
One of the best tips I have for floral drawing is to create guidelines to help you place the petals and leaves accurately. I’m drawing my guideline example in Sharpie so that you can see it on camera, but you’ll likely want to do this in pencil so you can erase your guidelines later on!
Bluebonnets are long with a cluster of blooms in an oval shape. Let’s start by drawing an oval to mark the general space where the petals will go. Then draw a line through the center for the stem.
Next, draw short lines that will indicate where the blooms are located along the main stem. Draw them in different directions to give this a more organic feel.
Lastly, you’ll draw guidelines for the leaves. The leaves are almost star-shaped and have multi-pronged edges. Draw five or six lines to create your leaf guideline.
Step 2: Drawing Bluebonnet Blooms
Let’s break down how to draw bluebonnet blooms! When looking at flowers in nature, you never really see all the petals from the same angle. So I’m going to share how to draw a front-facing bluebonnet petal and side-facing petals.
Front-Facing Bluebonnet Petal
Start with a “C” shape for the center of the bloom. Then draw a backwards “C” to connect it. It should look like a small egg or seed!
Next, draw an elephant ear shape around one side of the center. Do the same on the other side, and you’ve drawn your first bluebonnet bloom!
Side-Facing Bluebonnet Petals
Some of the blooms on your bluebonnet will be facing to one side or another. To draw the blooms in a side-facing perspective we’ll use the same shapes, just arranged differently.
Start by making the seed-like center shape but draw it so that it looks like it’s on its side. Then draw one elephant ear shape starting about a third of the way up the center petal.
You can do the opposite to draw a bloom that’s facing the other way!
If you want to add extra detail, make a little second petal on the sideways facing blooms.
Step 3: Drawing Bluebonnet Leaves
When we drew the guidelines in an earlier step, the bluebonnet leaf had a multi-pronged guideline. Each of these lines shows where the middle part of each leaf should go. It will end up looking like a star when you trace around the guidelines.
Step 4: Put it all together!
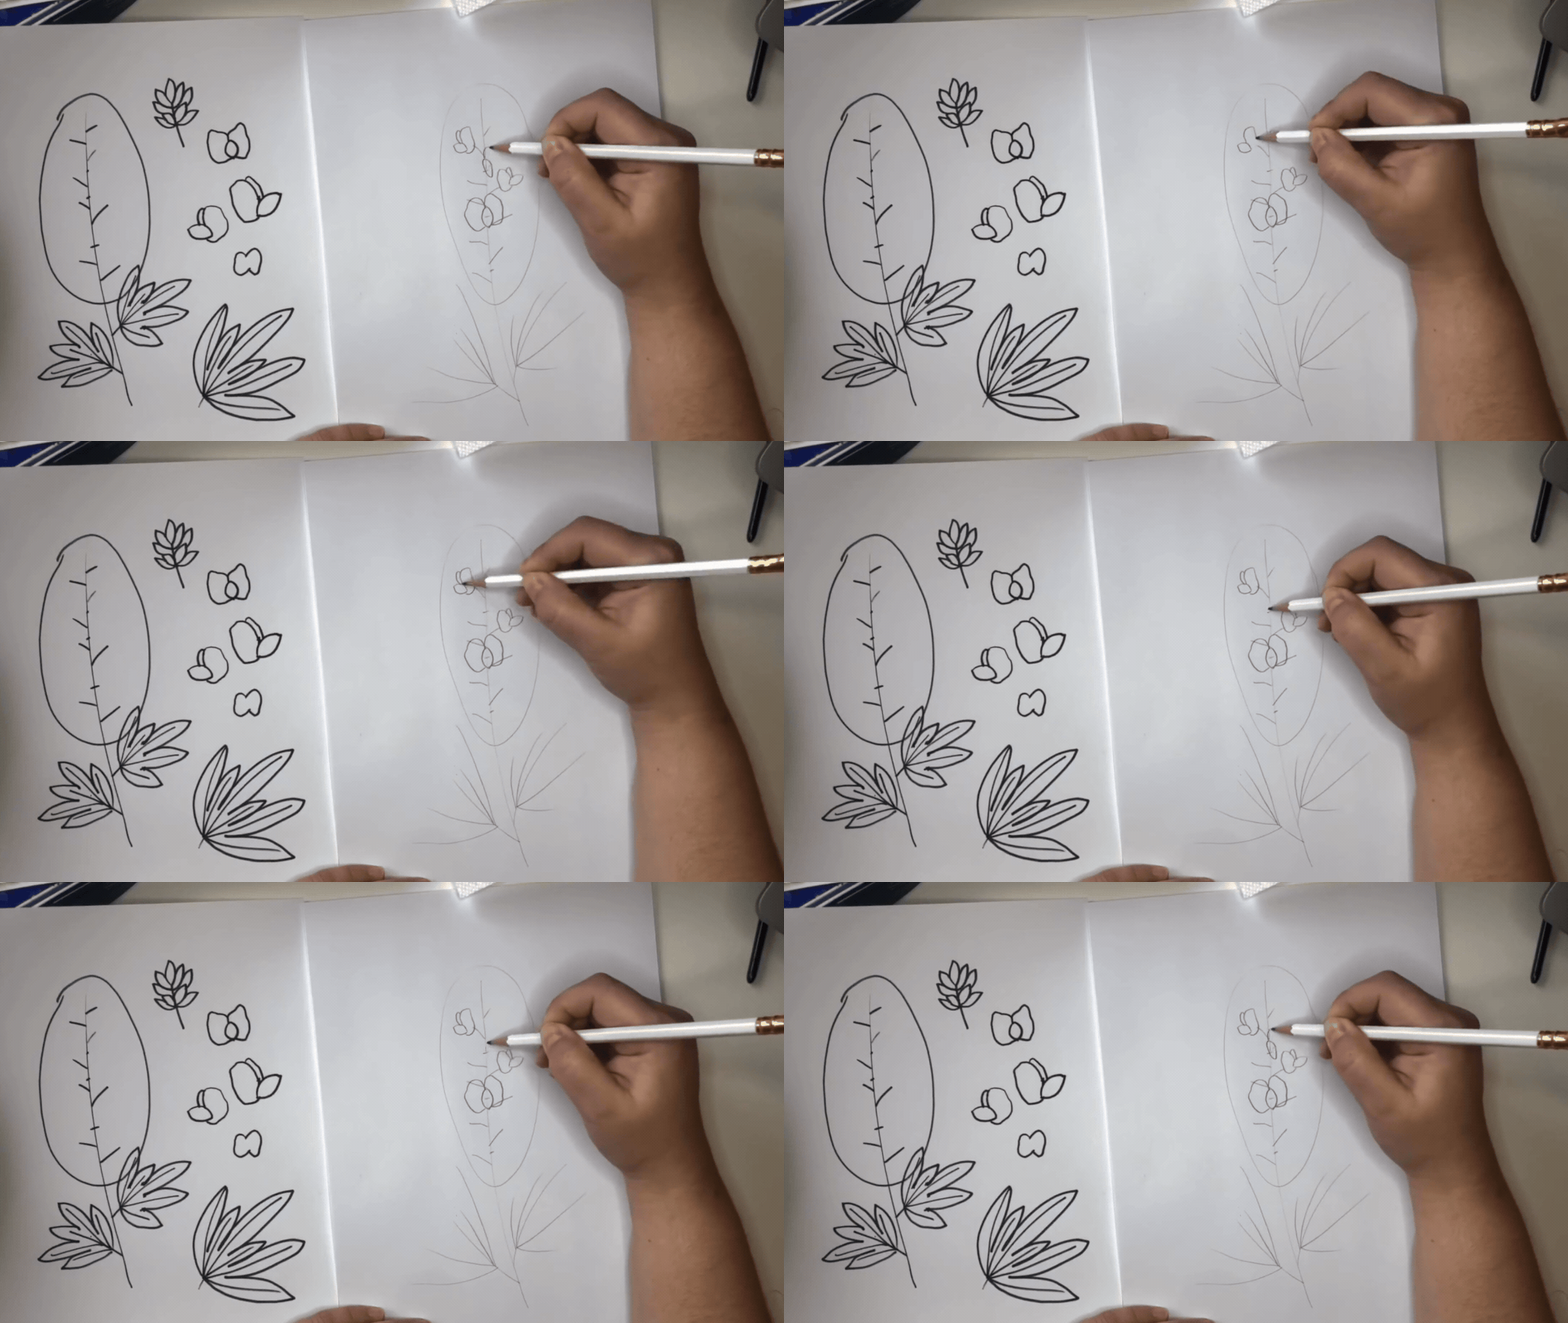
Now that you know how to draw all of the elements, it’s time to pull it all together. I recommend creating your drawing in pencil so that you can freely use guidelines and then erase them later.
Create the guidelines to help you draw, and then start adding in the individual blooms of the bluebonnets.
Follow that up by drawing the leaves and adding a little cluster of seed shapes for the top of the flower.
When you’re done, your drawing should look something like this!
If you’d like to finalize your sketch and use it to create a watercolor painting, there are a few ways to do this.
One way to do this is to draw over the most important lines with a waterproof pen and then erase the guidelines beneath. If you paint over this, it will give your painting an ink-and-wash look.
If you want to keep the pencil, I recommend carefully erasing your guidelines and then lightening up the sketch with a kneaded eraser.
Next Up: Painting a Bluebonnet
Want to take this tutorial to the next level? Check out this blog post about how to paint a loose bluebonnet in watercolor!


